Bike Maintenance Basics for Kids
Learning the basics of bike maintenance together as a family is a great way to bond AND be safe as you ride. Knowledge is power! Bikes are pretty complex machines, and knowing how to address common mechanical problems can go a long way towards building confidence and reducing stress on family rides.
Even basic maintenance knowledge can be so empowering! If you do enough biking as a family, you will inevitably run into issues on the trail. And if you can train yourself to see these issues BEFORE they come up on the trail, even better!
As an Amazon Associate and member of other affiliate programs, we earn from qualifying purchases.
Bike Maintenance Basics for Families: Getting to Know Your Bike
The first step in learning bike maintenance is becoming familiar with the components of your two-wheeled fun machine! This can be intimidating if you don’t have much experience with the ins and outs of bike parts and terminology, so let’s break it down a little bit.
What type of brakes does the bike have?
The bikes in your family’s fleet will likely either have rim brakes or disc brakes. Some entry-level youth bikes come standard with coaster brakes, although we highly recommend that you avoid coaster brakes if at all possible. For more on the “why” behind this statement, check out our post on How to Teach a Kid to Pedal a Bike.
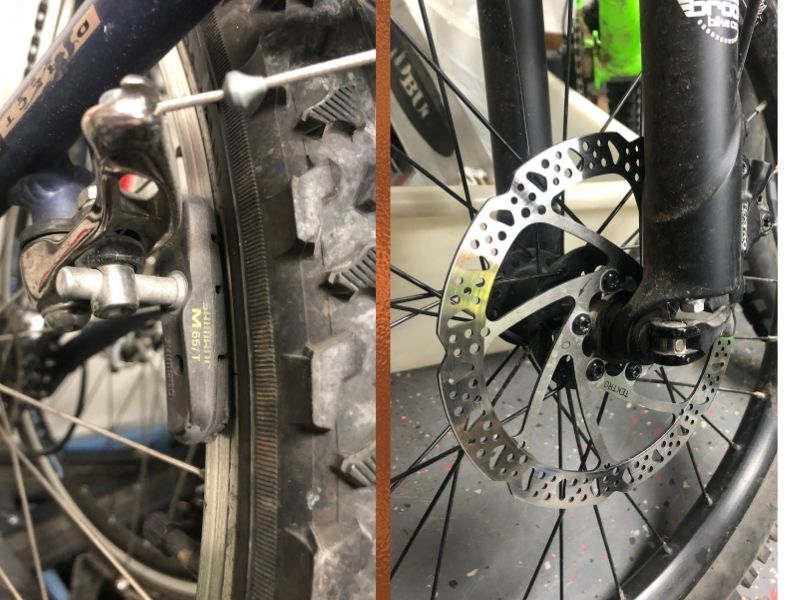
Rim brakes, also known as v-brakes or caliper brakes, work by pinching the rim of the wheel between two pads to slow the bike. V-brakes are generally cheaper and less complicated to maintain, but don’t work quite as well in wet conditions and can create significant wear and tear on your rims if you do a lot of riding in muddy or mucky conditions.
Disc brakes, on the other hand, stop the bike by squeezing a brake pad against a rotor mounted around the hub. They provide more consistent stopping power, especially in sloppy conditions. Disc brakes can be either mechanical or hydraulic, with hydraulic brake systems requiring regular bleeding of fluid lines to purge air bubbles and keep the brakes working properly.
What is the recommended tire pressure?
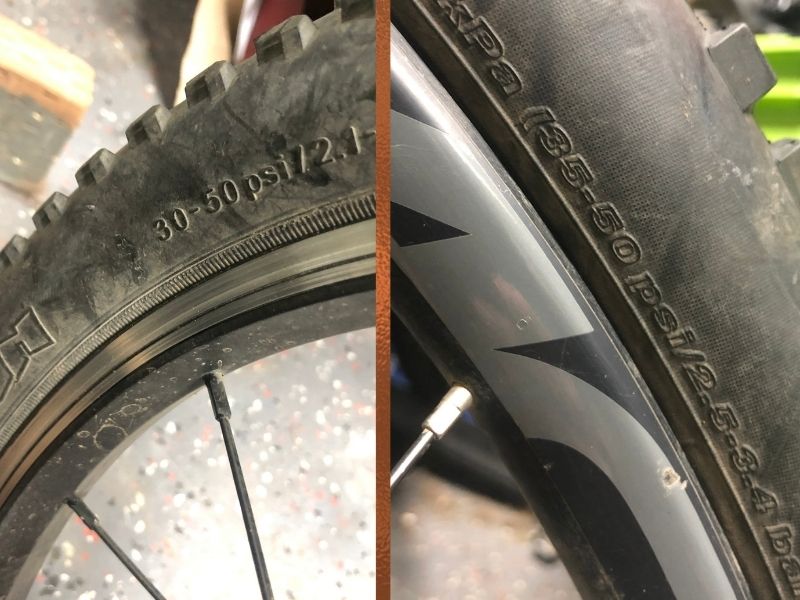
Before every ride, it’s wise to check the pressure on all tires to make sure they are within the recommended range. This range is usually printed on the sidewall of the tire and measured in PSI (pounds per square inch). Tire pressure can be measured either using a pump with a built-in pressure gauge or a stand-along tire gauge like this one from Planet Bike.
The type of riding you’re doing will help you determine where you want your pressure within the recommended range. If you’re on a mountain bike or riding on rougher, bumpy terrain you will want to keep the pressure on the lower end to help increase shock absorption and traction. If you’re sticking to roads or paved paths, higher pressure will allow you to travel at faster speeds over smooth surfaces.
Does the bike have a self-sealing/tubeless setup or does it use inner tubes?
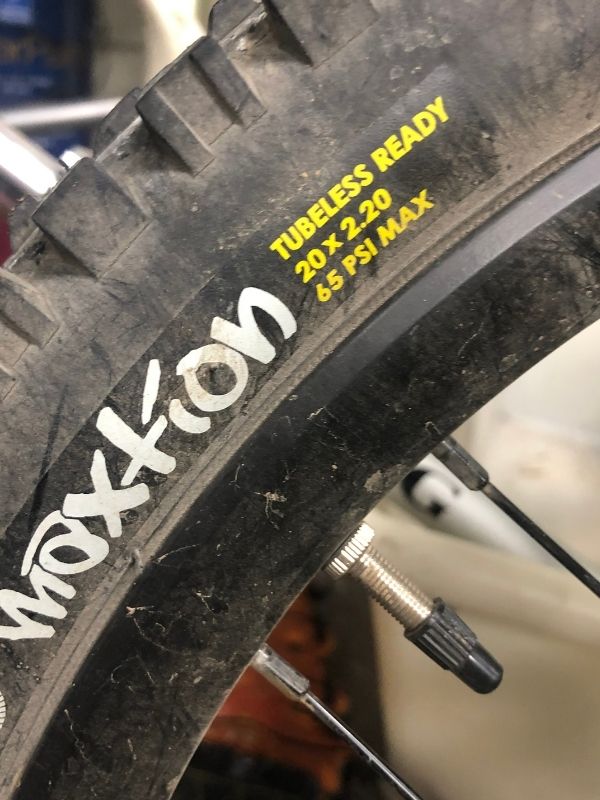
A tubeless tire setup uses a liquid slime type sealant and is designed to re-seal itself after a puncture. This type of setup saves some weight and generally leads to fewer flats. It also allows you to run your tires at lower pressure, providing even more traction which is especially helpful on technical mountain bike trails.
A tubeless set up would be more common on a high end adult bike, less common on a child’s bike. If you’re not sure what type of setup your bike has, it should be clearly listed in the bike specs or manual. If you do have a tubeless setup, be prepared for the fact that a significant puncture will still require a spare inner tube (and that the sealant can be pretty messy and difficult to clean up).
If your bike has a more standard inner tube setup, you will want to make sure you have spare tubes and a hand pump in case of a flat. You also want to keep a closer eye on your tire pressure if you tend to run it on the lower end in order to avoid pinch flats.
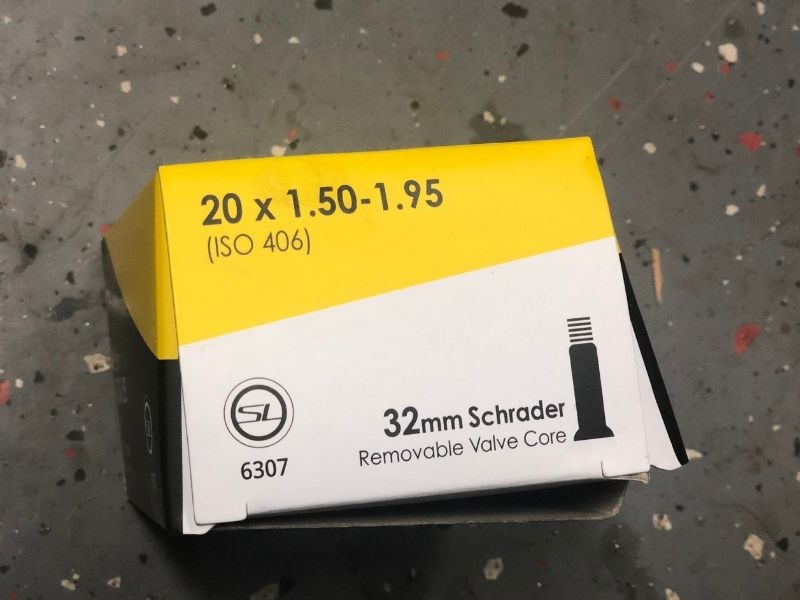
What size inner tube does your tire require?
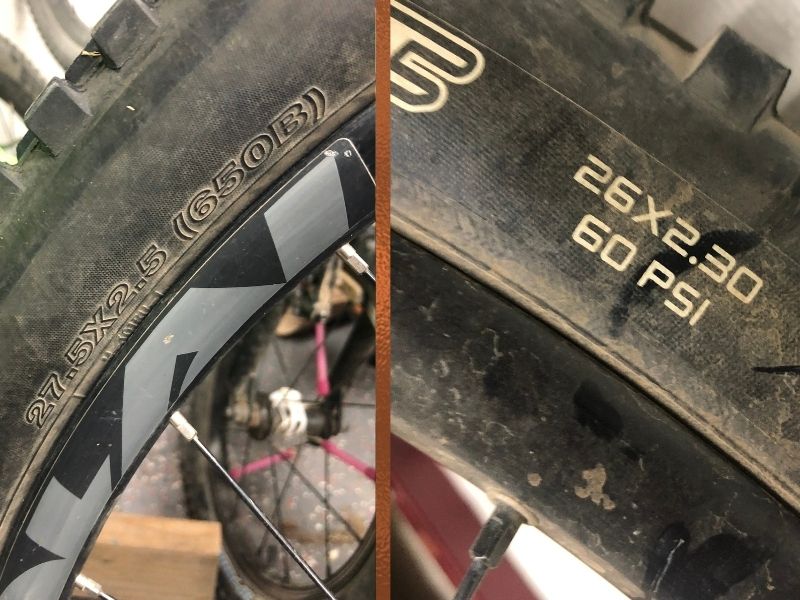
The tire dimensions should be listed on the sidewall of the tire, typically next to the recommended tire pressure range. Most often, the numbers you see will be Diameter x Width (for example, 27.5 x 2.25 would be a fairly standard size for an adult mountain bike whereas 700c x 23mm would be more common on an adult road bike).
What valve stem type does this bike use?
Another factor to consider when buying spare inner tubes is the type of valve stem the bike utilizes. The two most common types are Presta and Schrader, with Presta valves being taller and slimmer than Schrader. Schrader valves are the same type of valve used on car tires, and are more common on less expensive adult bikes and kids’ bikes.
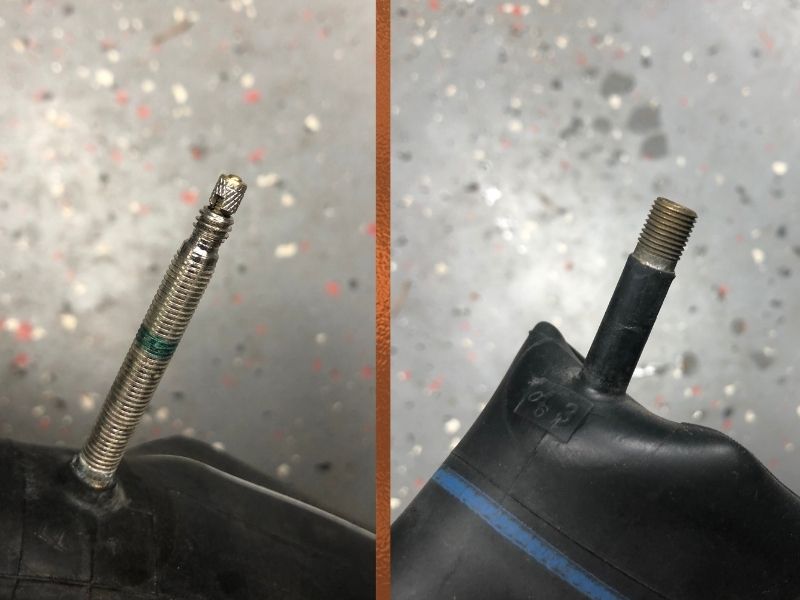
Presta valves are designed specifically for bikes, and can be a bit trickier to use if you’re not familiar with them. They have both a valve cap and a locknut that need to be removed and loosened in order to inflate the tire, and it can be tricky to seat the valve in the pump properly if you don’t have much experience doing so.
Bike Maintenance for Families: Building a Repair Kit
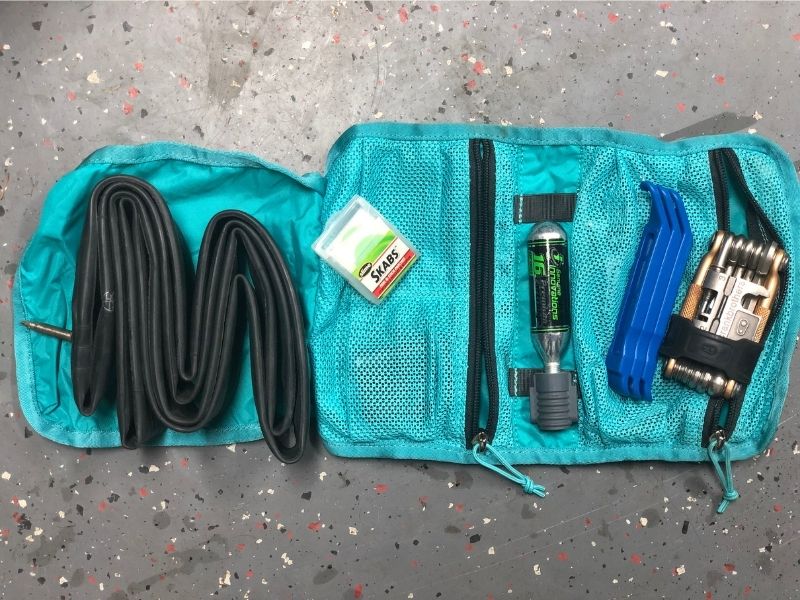
Once you are familiar with these basic parts of your bike, you can start building up a repair kit to carry along with you on all your family rides. Most riders carry, at the minimum:
- a multi-tool (for so many things! all kinds of adjustments and trailside fixes require the use of a good multi-tool)
- a set of tire levers (for changing flats)
- spare tubes (one for each size tire on your ride if you’re packing for the kids as well)
- a patch kit (in case you have multiple flats on a ride or don’t have the correct size spare)
- a mini-pump (for re-inflating slightly flat tires)
Whatever you use to carry your water on a ride can probably hold all of these items without too much trouble. Many mini-pumps can also be mounted to bike frames if you prefer to go that route, or you could utilize a seat bag or saddle pack to keep these items on your bike and ready to go at all times.
Here are a few basic questions to ask yourself in order to feel prepared to utilize your repair kit on-the-go:
Are you familiar with all the elements of the multi-tool?
Multi-tools can contain a variety of little useful gadgets depending on which one you choose, but at a minimum you should have 6 different hex wrenches of varying sizes and a couple of standard screwdrivers. As you look over your bike closely, you will start to realize why!
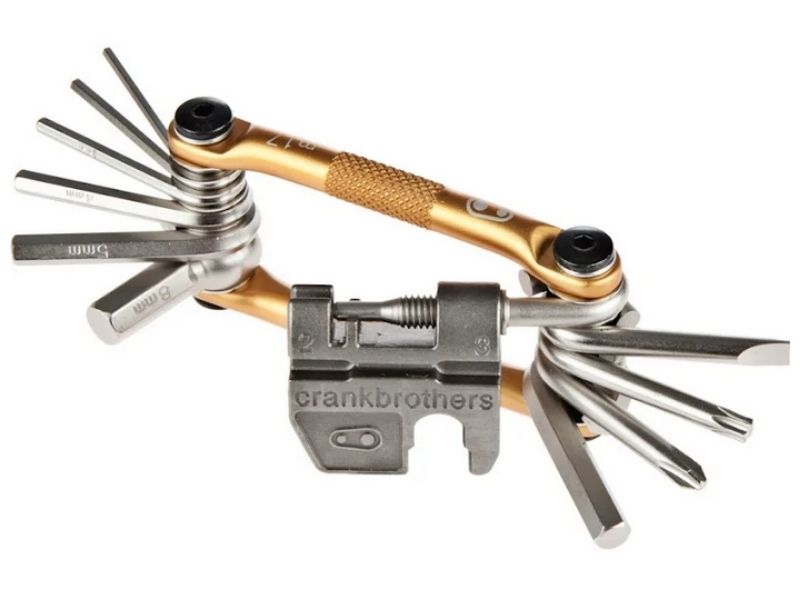
There are so many places where something could get knocked loose or simply need a bit of tweaking. Try to figure out where you need the different wrenches to make adjustments, and practice loosening and tightening something like a seat post or a brake lever to know what it feels like.
Do you have a spare tube for each tire size in your family of bikes?
If not, a patch kit will work. But we generally prefer to have a new tube for each wheel size, because patching tires well enough to hold air can be tricky business. This is especially true on trail rides, or in areas where a flat tire would make for a long walk home.
Do you know how to swap between Presta and Schrader on your mini-pump?
Most pumps are designed to work with both main valve types. Because mini-pumps are so small, there is typically a bit of wizardry involved in unfolding them and getting everything attached properly and it’s not always intuitive.
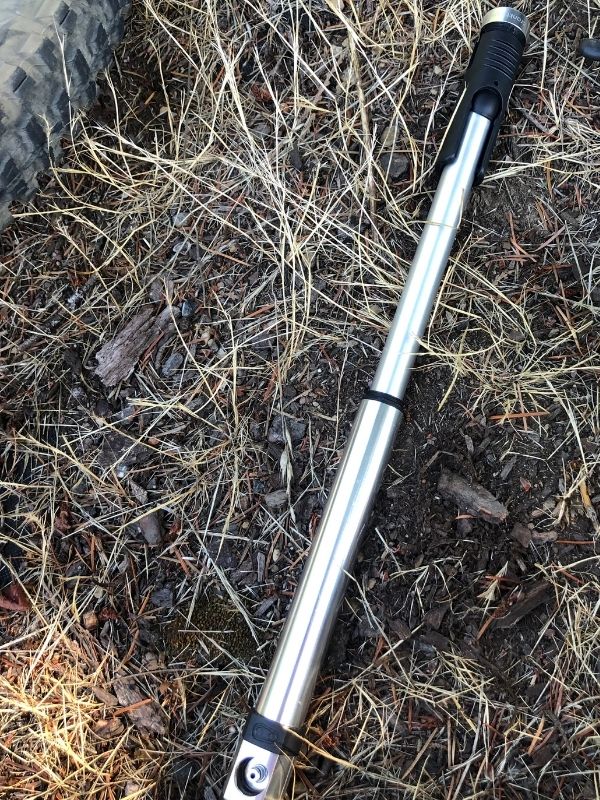
It’s a good idea to familiarize yourself with the mini-pump and practice a few times before heading out on the trail, especially if your bike fleet includes both types of valves. The key is getting to know your pump BEFORE you need it!
Bike Maintenance for Families: Basic Skills for your Family of Bikers to Learn
Changing flats
If you don’t know how to change a flat, now is the perfect time for you and your kids to learn! Numerous how-to videos exist (like this one from Park Tool) – try watching a few and find one that clicks for your family. Watch it several times and practice until you have it down.
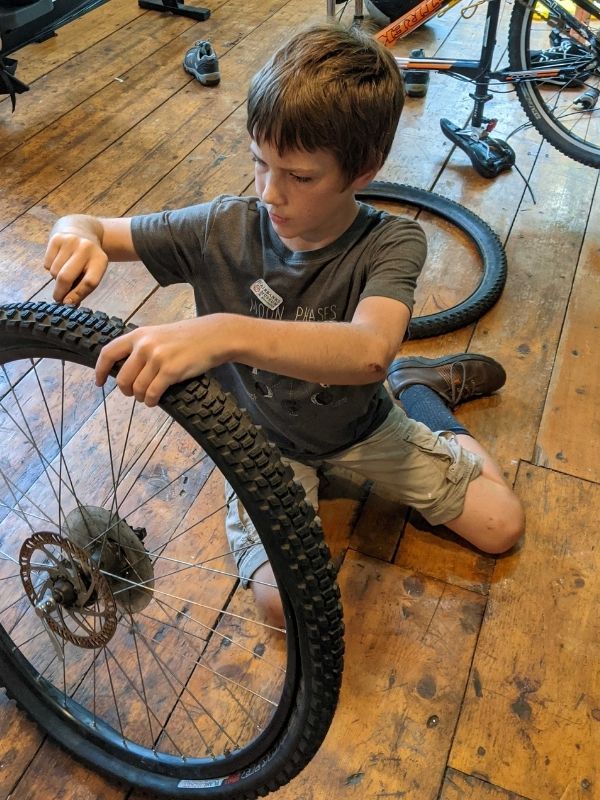
Get a feel for loosening the bead from the rim sidewall and using the tire levers, and for working the bead back onto the rim . It also helps to research a little bit about common causes of flats so you know what to look for once the tire is removed.
Patching tubes
Learn how to patch a tube using the patch kit that you own. We carry spare tubes, even for our tubeless systems, but we still carry a patch kit in case we have multiple flats in a single ride. If you have an old tube lying around, put a small puncture in it and practice over-inflating the tube to look for the location of the puncture.
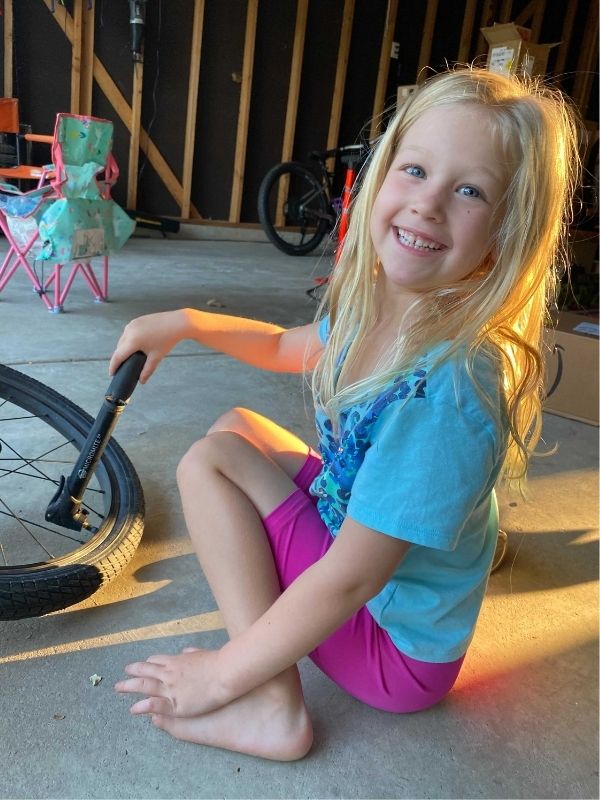
Inflating tires
Make sure you know the ideal range of inflation for your tire and check that it is inflated to the proper PSI. Give your inflated a tire a squeeze to get a feel for it in case you need a trailside re-inflation with a mini-pump that doesn’t have a pressure gauge.
Also keep in mind that inner tubes lose air over time and that temperature affects the inflation levels. Air pressure increases with a rise in temperatures. In shoulder seasons where there is a big swing in temps, if you top off your tires to their max PSI in the frosty morning air you could have overinflated tires by midday.
Cleaning and maintaining your chain
Learn how to clean and maintain your chain, especially if you’re doing a lot of wet or muddy riding. A rusty chain is not a happy chain, and if your chain isn’t happy your bike isn’t happy!
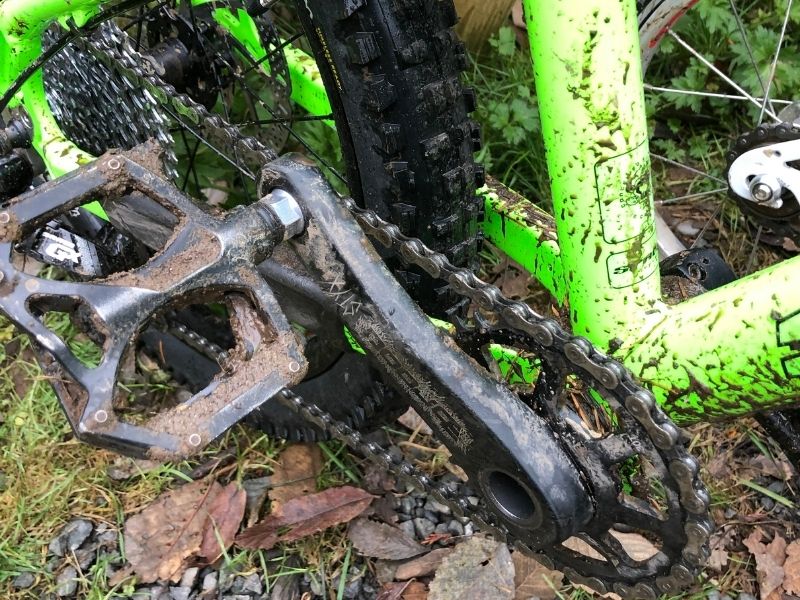
The first step in taking care of your chain is to get the gunk off with rags, an old toothbrush, or a long-bristled dish brush. You don’t need any kind of fancy cleaning agent here – Dawn dishsoap and water works great! Make sure you get into all the nooks and crannies where grime might be hiding.
Park Tool also makes a chain scrubber if you prefer to go that route, but it’s definitely not necessary.
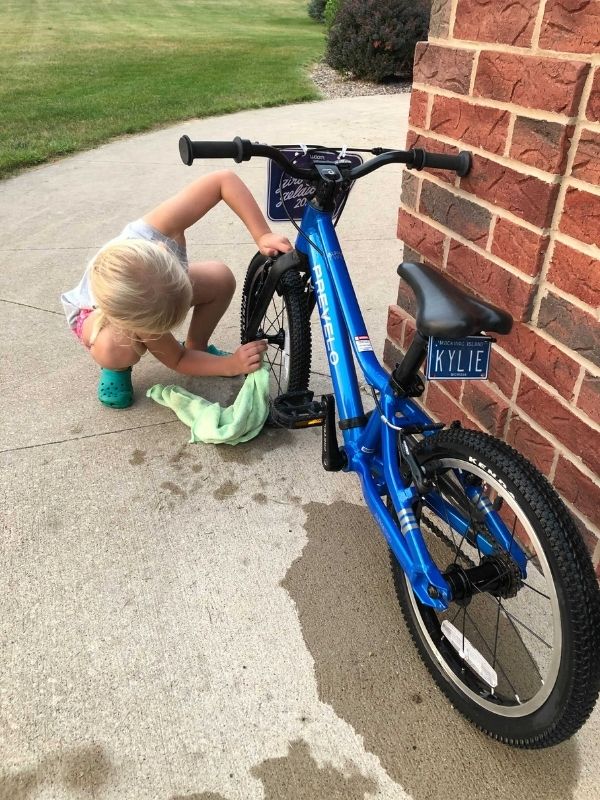
Once you’re done cleaning (don’t forget the cassette and chainring!), dry everything as much as possible with a lint-free rag. You can use an air compressor or a leaf blower if you’re feeling really ambitious – basically you just want to get as much moisture as you can off the metal components to avoid rusting.
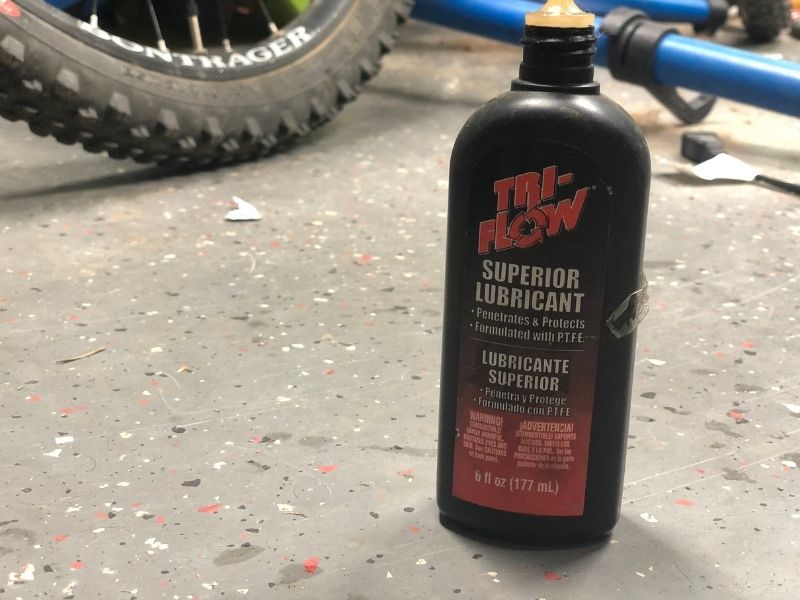
Once everything is clean and dry, apply your favorite brand of lubricant liberally to the chain. Don’t skip this part! Let it sit for a few minutes and then wipe off the excess lubricant with a clean, lint-free rag. Leaving excess lubricant on your chain will attract dirt, dust and grime and nobody wants more of that in their life.
While you’re messing around with the chain, do you know how to put it back on if it comes off during a ride? If not, push the rear derailleur forward to give the chain some slack and then lift the chain so that it sits on the smallest chainring. Practice what this feels like.
Bike Maintenance for Families: How to do a Pre-Ride Safety Check
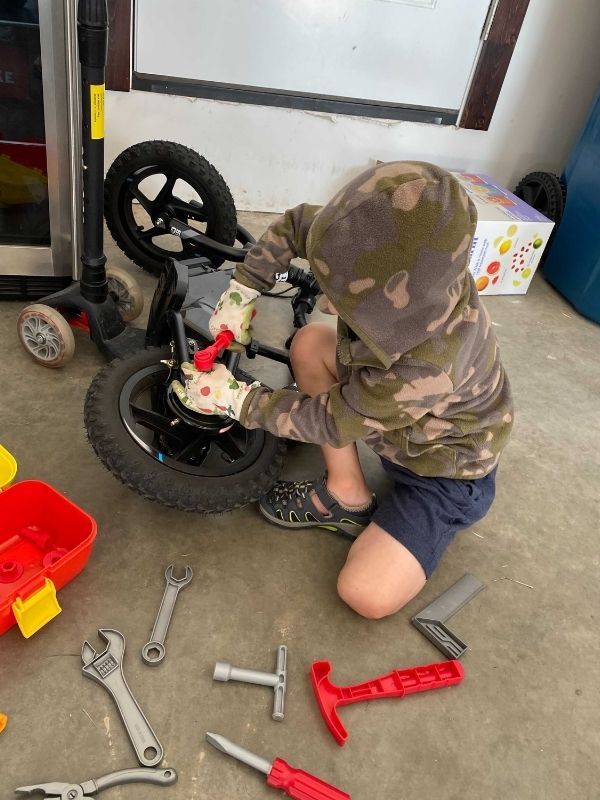
It’s a great idea to get in the habit of checking each bike over before you ride. Your kids can help! Older kids should be encouraged to do this for themselves as soon as they are capable and know what they are looking for.
The first step is just to look over the bike as a whole.
Does everything look normal? Are any quick release levers closed and tight? Is the saddle on straight? If you don’t notice any major issues right off the bat, you can proceed to the check system.
A-B-C-D-E Pre-Ride Check System
We really like to use the A-B-C-D System to do our pre-ride safety checks:
A – Air
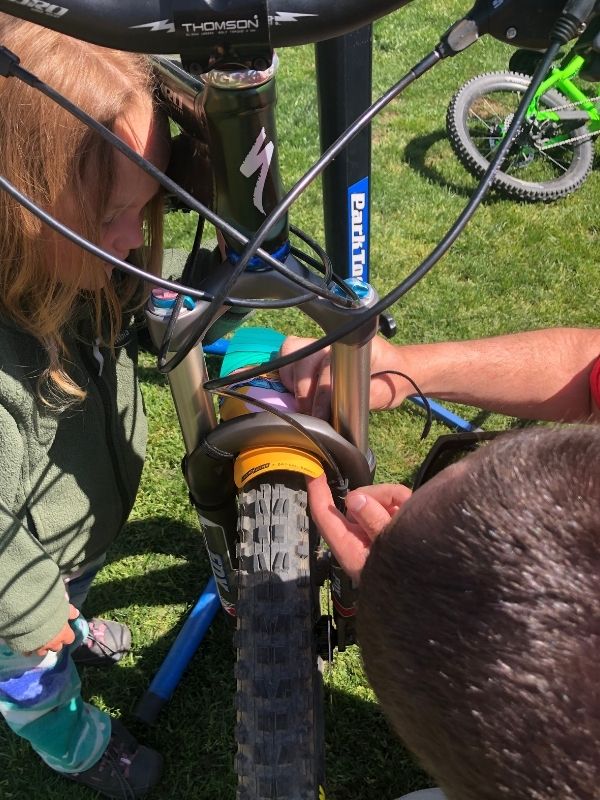
Do the tires feel adequately inflated? If the bike has suspension, is it compressing and rebounding properly? This is a great time to do a tire pressure check.
B – Brakes
Hold each wheel off the ground and give it a good spin. Do you hear the brakes rubbing? Any other strange noises?
Give each wheel another spin. When you engage the brakes are you feeling responsive stopping power?
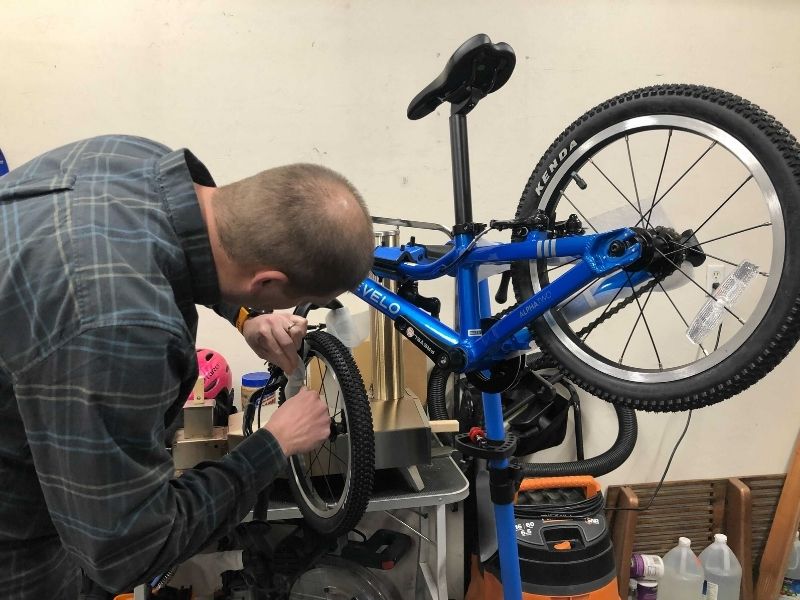
C – Cranks & Chain
Lift the rear wheel off the ground and spin the pedals forward several times. If your bike is geared, let the wheel get a good spin and then shift up and down through all your gears. Are any of them sticking or skipping?
Once the wheel has stopped spinning, look over the teeth on the front chainring and rear cassette and inspect for damage. Make sure the chain is adequately lubricated.
D – Drop
Lift the bike just a few inches off the ground. Let it drop to the ground, bouncing on its tires with your hands guiding its fall. Shake the bike around a bit. Do you notice any parts rattling? Does anything seem loose?
E – ENERGY
If everything looks good, are you ready to ride? Do you and your crew have enough snacks and water to get where you want to go?
If the answer to all of these questions is yes…your two-wheeled adventure is on!
Bike Maintenance Basics for Families: Keep Your Fleet Running Smoothly!
Most of us would agree that it’s a good idea to encourage our kids to develop healthy habits in order to keep their bodies working well. Things like exercising regularly, eating a balanced diet, getting adequate sleep, and brushing teeth are typical self-care tasks that are part of most regular family rhythms.
Think of your bikes similarly! All of the parts of a bike work together, and if you neglect one area it’s easy for others to be affected as well and for that to affect the lifespan of the bike. Developing regular maintenance habits, keeping bikes clean and dry, and knowing how to do some basic bike “first aid” is an excellent way to get the most mileage out of your two-wheeled adventure rigs.
What other tips to you have to take care of your family’s bikes? What are some areas of basic maintenance that you would like to know more about? We would love to hear from you in the comments!
Related Articles:
Bike Maintenance Basics for Kids
© 2021, Kids Ride Bikes. All rights reserved. Republication, in part or entirety, requires a link back to this original post and permission from the author.