How to Jump a Bike for Kids
Before learning to jump, make sure you child understands even pedals, proper body position and point of commitment. Ideally they can hold a manual or at least pop their front wheel, but rolling over jumps is a common beginning.
Successful Body Position for Bike Jumping
First, teach your child how to stand in a ready position by standing on even pedals with their hips back, elbows out, knees bent and chest forward.
We call this attack in my local cycling club and tell the kids to “bwok” like a chicken to remind them elbows out, relaxed and absorbing the shock. Being silly, yelling, mantras or positive self-talk all clear the mind and help relax the body.


Give 5 positive responses for every correction. Kids need the affirmation. Watch them light up.
Be Prepared to Brake
One or two fingers should be resting on the brakes but remind kids not to brake upon landing. They should be prepared to brake if need be upon landing if their path isn’t clear, but landing without braking is essential.
If you spot something amiss just as your rider hits the jump, do not yell it out to them. This could cause them to panic and slam on their brakes and that never ends well.
That said, always do an ABCD (Air, Brakes, Chain, Danglers/Drop) check before riding any bike. It takes 10 seconds to check the air in both tires, squeeze both breaks and check the chain. Finally, look for any danglers (i.e.. backpack straps, clothes) then drop the bike. (Drop the bike by hanging on to the handle bars in one hand and the seat in the other. Lift the bike up by the seat a few inches and let it drop back down to the ground.) Listen to see if anything doesn’t sound right.
Please, please always check the quick release, especially if a child is jumping. It should be so tight you have to pry it open to release.
For more great tips, check out our article on Bike Safety for Kids.
Push Down, Don’t Pull Up
Kids who pull up on the bars are more likely to turn their wheel in the air and crash upon landing. The amount of air attained isn’t just from speed, it’s from the compression of the stomp before takeoff. Not from pulling up on the bars.

Compress your body weight evenly through your feet right before the front wheel leaves the ramp. Extend your legs and arms fully just as the back wheel leave the ramp. Use your feet to pull up on the pedals while lifting your body up and out of the way of the bike.
You will want to pump just before the angle on the jump changes. Stand up fast as the front wheel is about to leave the jump. Legs should be fully extended as your back wheel hits the lip of the jump, so your bike follows you into the air.
The bike should follow you, not be pulled up.
Point of Commitment
Point of commitment is the moment before you jump you make sure all feels right. You are committing to not pressing the brakes till you’ve landed. If a foot is slightly off the pedal or the jump line isn’t clear this is the time you bail.
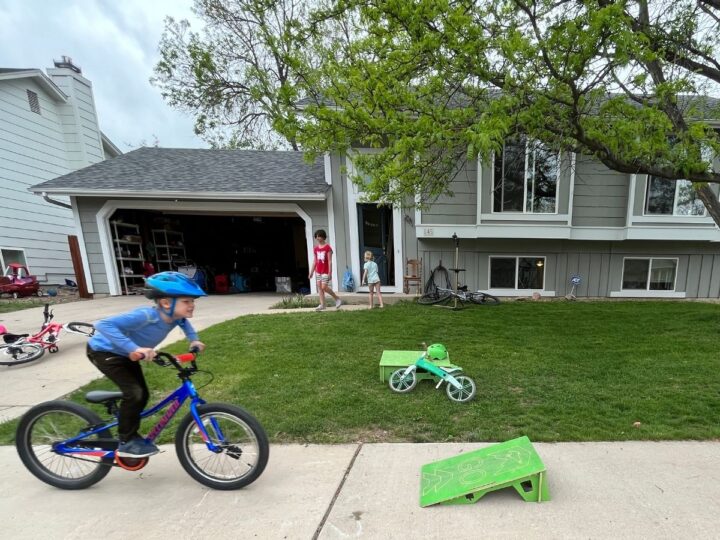
If you don’t see yourself landing it, don’t take off. Knowing when to bail is an important skill. A proper bike safety check should take place before ever jumping a bike, be sure to check everything is nice and tight including the quick release.
Roll the Ramp with Proper Form First
Pedal up to the ramp with some speed in ready position, relax and look for your landing. Before you get to the ramp check in and make sure everything is just right. Relax and let your elbows and knees bend with the pressure.
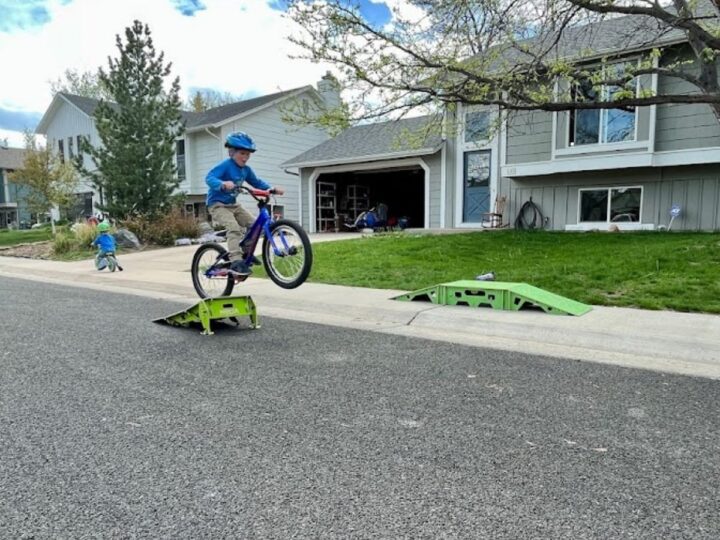
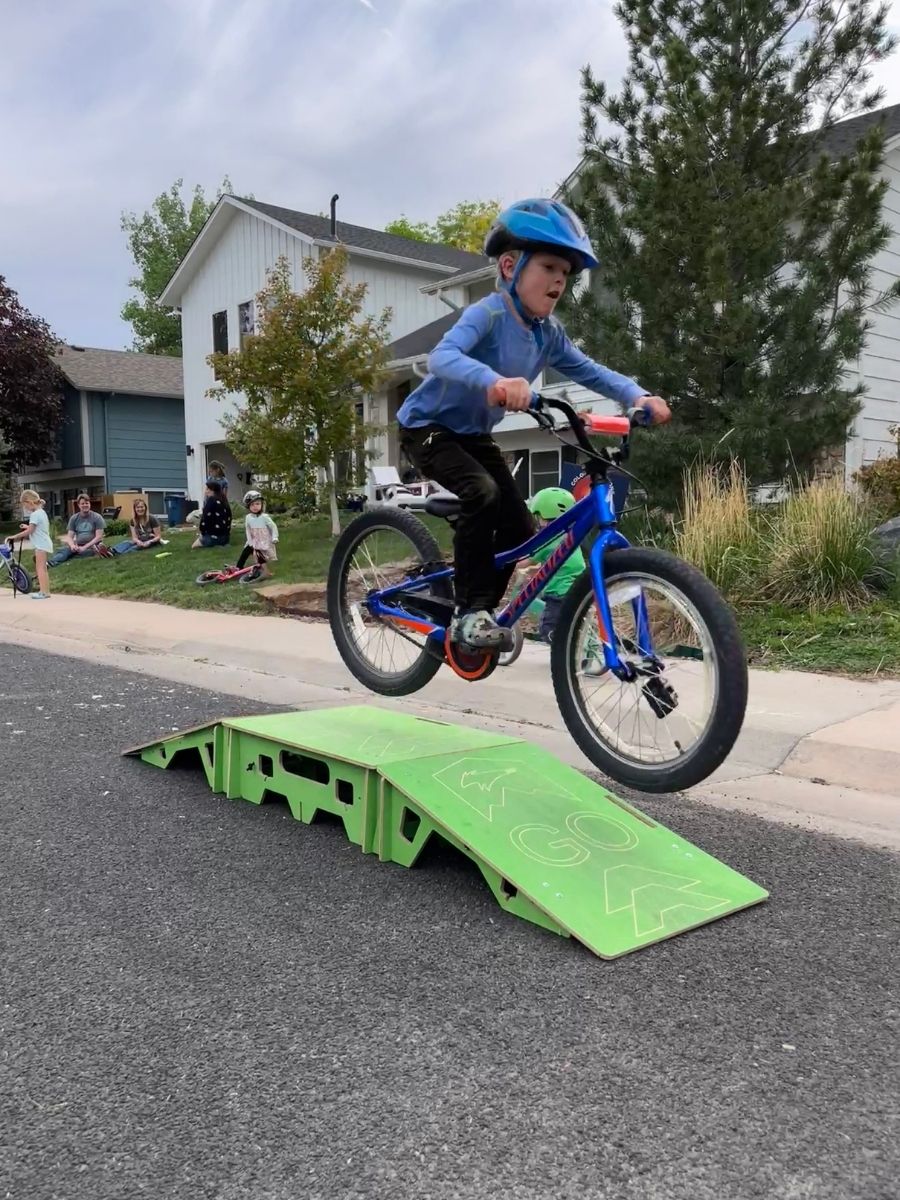
Remind them to breathe as the roll over. Steady handle bars and enough speed should be enough to successfully roll the rap.
Many kids will wobble slightly as they take off, along as they started straight and land straight, they will be fine. The wobble will dissipate as confidence builds.
Learn To Stomp
As kids get more proficient at landing straight while simply rolling the jump have them stomp/pump before take off. This means compressing legs and arms before the lip of the jump.
Stomping equates to aggressively pushing down on the pedals with your feet for a counter pop off the jump. Learning to stomp at just the right time will give them that nice arch instead of just sailing straight forward.
Have them visualize their landing and then have them practice setting their front wheel down intentionally where they see the landing.
Learning to bunny hop is an excellent way to practice stomping.
Let Them Fly
Learning to time a perfect stomp is tricky but it’s rewarded with the joy of sailing through the air. Regain ready position and enjoy your sail.
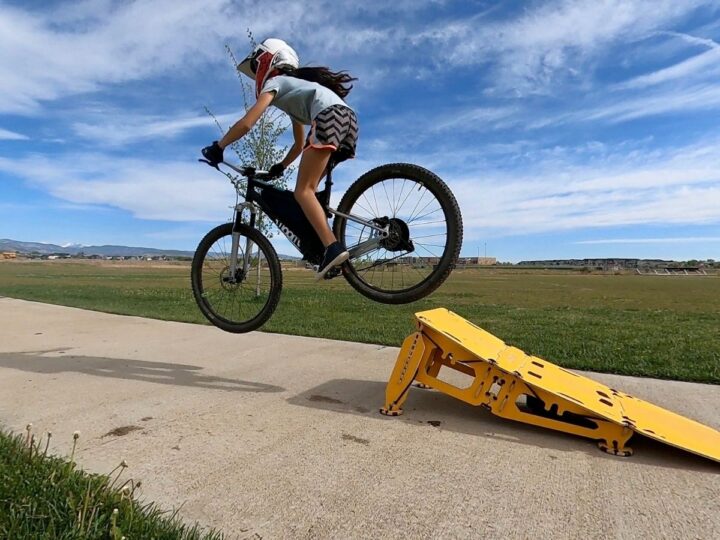
This is the fun part, stay calm and look forward. Be light as a feather and rise up with the bike. Check your line (landing spot) and pay special attention to the slope.
Nailing the Landing
Match your tires to the slope as you land the bike. If one wheel has more weight than the other, you can endo or go over the handle bars. If the slope is downward facing, land front tire first. You decide where you want to land, pick a spot and push your handle bars down there.
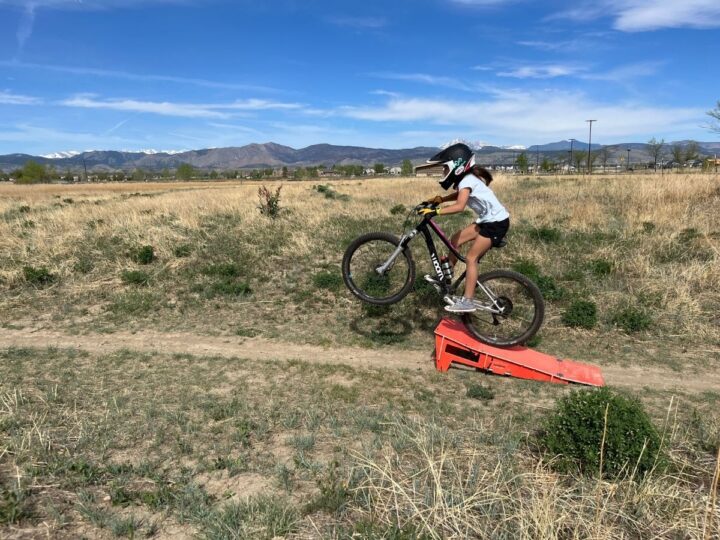
The biggest mistake we see kids make is not stomping and not looking for their landing. Jumping and hoping as you land isn’t in your best interest. Push your bike down where you want it to go, then use your arms and legs to absorb the impact. Roll to a controlled stop and give yourself/your kid a high five.
Where You Land is Up to YOU!
Let’s Recap Learning to Jump a Bike
First master body position rolling down a hill. Then have them roll the jump and take it to the next level by timing the compression of the stomp. Last but not least, have them practice landing soft.
Can they land without making a sound? Use a stick to see how far they can jump while still maintaining a nice arch from a solid stomp.
Can you land rear wheel first? Front wheel first? Both at the same time?
Consider Buying a Kicker Jump or a Manual Trainer
Jumping a bike is one of those things that gets easier each time. Whether or not you have a bike park in your area, a small kicker ramp is a great tool to practice over and over.
Check out our Beginner’s Guide to Bike Ramps as well as individual reviews of Ninja MTB Performance Ramps and Byclex Ramps.
A Few Things That Help
- Drop the saddle a bit. It helps with body position and gives plenty of room to absorb the landing with your body.
- Reduce PSI for a more forgiving landing. Add PSI for more speed and pop.
- Stiffen suspension to add to the pop off the lip of the jump.
- Ride with platform pedals. Being able to bail when failing is helpful to learning. Many kids bikes don’t offer a wide enough base to match a kids shoes. Many are also small and heavy, a nice pair of platform pedals and bike shoes are a worthy investment.
- Always wear a helmet, check out our recommendations here. Some kids prefer to wear a full face helmet. These vary in quality, weight and breathability.
- Knee pads and elbow pads are also very helpful. Bike Gloves do a great job preventing bloody palms. Glove don’t have to be bike specific, just make sure they provide enough grip!
Encouraging kids to wear pads from the beginning is very helpful. Young kids will become accustom to putting them alongside their helmet on as part of their riding habits. You may need to try on several kinds of pads before your rider finds a comfortable fit.
Attend a Clinic or Camp
Camps and clinics are a great way to practice with professionals that can give helpful tips. They also provide an opportunity to meet kids that are interested in jumping their bikes. Finding friends to ride with is worth every penny.
We recommend Ninja MTB Performance Kids Jumping Skills Class or a supporting a local program.
Practice Makes Improvement
The only way to get good at something is to do it over and over again. Learning to jump alongside your kid is a great way to relate, teach and give your kid the attention doing something they enjoy.
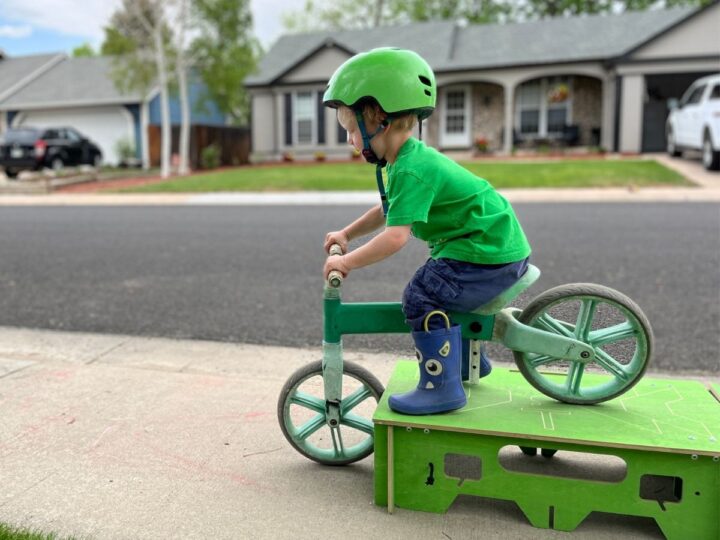
Learning to jump can be intimidating but rolling a bike in the ready position isn’t as scary. Small steps using the correct form go a long way. Practice in grass with pads.
Learning to jump should be fun. If it’s not, take a break. There’s plenty time to learn. Half of jumping is a mind game. If your kid isn’t feeling it, pushing them through might cause them to lose their love for the bike.
Keep it small, keep it fun and keep it relaxed. We can’t wait to see your family fly!
Good luck! Tag @kid_ride_bikes to show us what you’ve learned.
Related Articles
- Byclex Bike Ramp Review
- Best Bike Helmets for Kids
- Mountain Biking with Kids
- Ninja MTB Ramp Review
- Bike Ramps for Kids: A Beginner’s Guide
How to Learn to Jump a Bike for Kids
©2022 Kids Ride Bikes All rights reserved. Republication, in part or entirety, requires a link back to this original post and permission from the author.
